Last updated:
Installing a lift is one of the most technically involved works a building can undergo. There are over 300,000 lifts in operation across the UK, and every one of them went through a version of the same 10-stage process. The standard installation sequence below covers a traction or MRL commercial lift — the principles apply to residential installations too, with the main differences being in scale and structural requirements.
Understanding the process helps building owners plan effectively: know which phase requires their input, which is likely to take the longest, and what they need to have in place before the lift team arrives.
Lift Installation Procedure: Your First Steps
Deciding on the Type of Lift
The right lift depends on the building (height, structure, available space), the intended use (passenger, goods, accessibility), and budget. A qualified lift installation company should advise on this — the decision made here determines the entire specification.
Choosing a Lift Installation Company
Look for a company with specific experience in the type of lift you need. CHAS accreditation, LEIA membership, and demonstrable recent experience in similar buildings are the indicators to check. The cheapest tender is rarely the best value over a 20-year lift lifecycle.
Preparing for Installation
Ensure the site is clear, power supply is available, and any necessary structural works (shaft preparation, pit formation) are complete before the lift team mobilises. Arriving on a site that is not ready is one of the most common causes of programme delay and additional cost.
Elevator Installation Process — 10 Steps
Step 1: Space Inspection
The installation team assesses the shaft or proposed shaft location against the lift specification: overhead clearance, pit depth, structural loadings, power supply location, and access for delivery of components. Any discrepancies between the specification and the as-built conditions are identified here. On retrofit projects this stage frequently surfaces surprises — structural elements in unexpected positions, utilities crossing the shaft zone, floor levels that do not match drawings.
Step 2: Design Considerations
The lift’s detailed design is confirmed: door types and configurations, cab layout and dimensions, control system specification, interior finishes, and accessibility features including handrails, button heights, and audio-visual floor indicators. Changes to the specification after this stage carry cost and programme implications.
Step 3: Installation of the Base
The base and pit are prepared. For traction and MRL lifts, the pit is typically 1080mm deep; hydraulic lifts may require a deeper pit depending on the ram length. Supports, padstones, and lifting beams are positioned and fixed. This is a structural phase — errors here affect the entire installation above.
Step 4: Shaft Construction or Preparation
In new builds, the shaft is handed over by the main contractor ready for lift installation. In retrofit projects, this phase involves forming the shaft opening, constructing the shaft walls (in-situ concrete, precast modular, or steel frame), and ensuring the shaft is sealed, plumb, and dimensionally correct.
Step 5: Adding the Carriage and Drive Machinery
The hoisting machine, guide rails, ropes, and counterweight are installed. The car frame is built up within the shaft and attached to the ropes and guide rails. For hydraulic lifts, the ram and cylinder are installed at this stage. This is the most technically demanding phase of the installation.
Step 6: Raising the Drive Base
The drive base is carefully raised into position. Precise alignment here is critical — misalignment of the drive base will cause rope wear, ride quality issues, and premature mechanical failure. Guide rails are installed and aligned after the drive base is in position.
Step 7: Assembling Gates and Enclosures
Landing door frames and doors are fitted at each floor level. Door interlocks — which prevent the lift from moving unless all landing doors are closed — are installed and tested. The emergency stop button is positioned and its operation verified.
Step 8: Wiring Electrical Components
The control panel, motor wiring, safety circuit, and communication systems are all wired and connected. This phase includes fitting the emergency alarm button and phone (or intercom system). All electrical work must comply with BS 7671 (IET Wiring Regulations) and the lift-specific electrical requirements of EN 81-20.
Step 9: Cab Finishing Touches
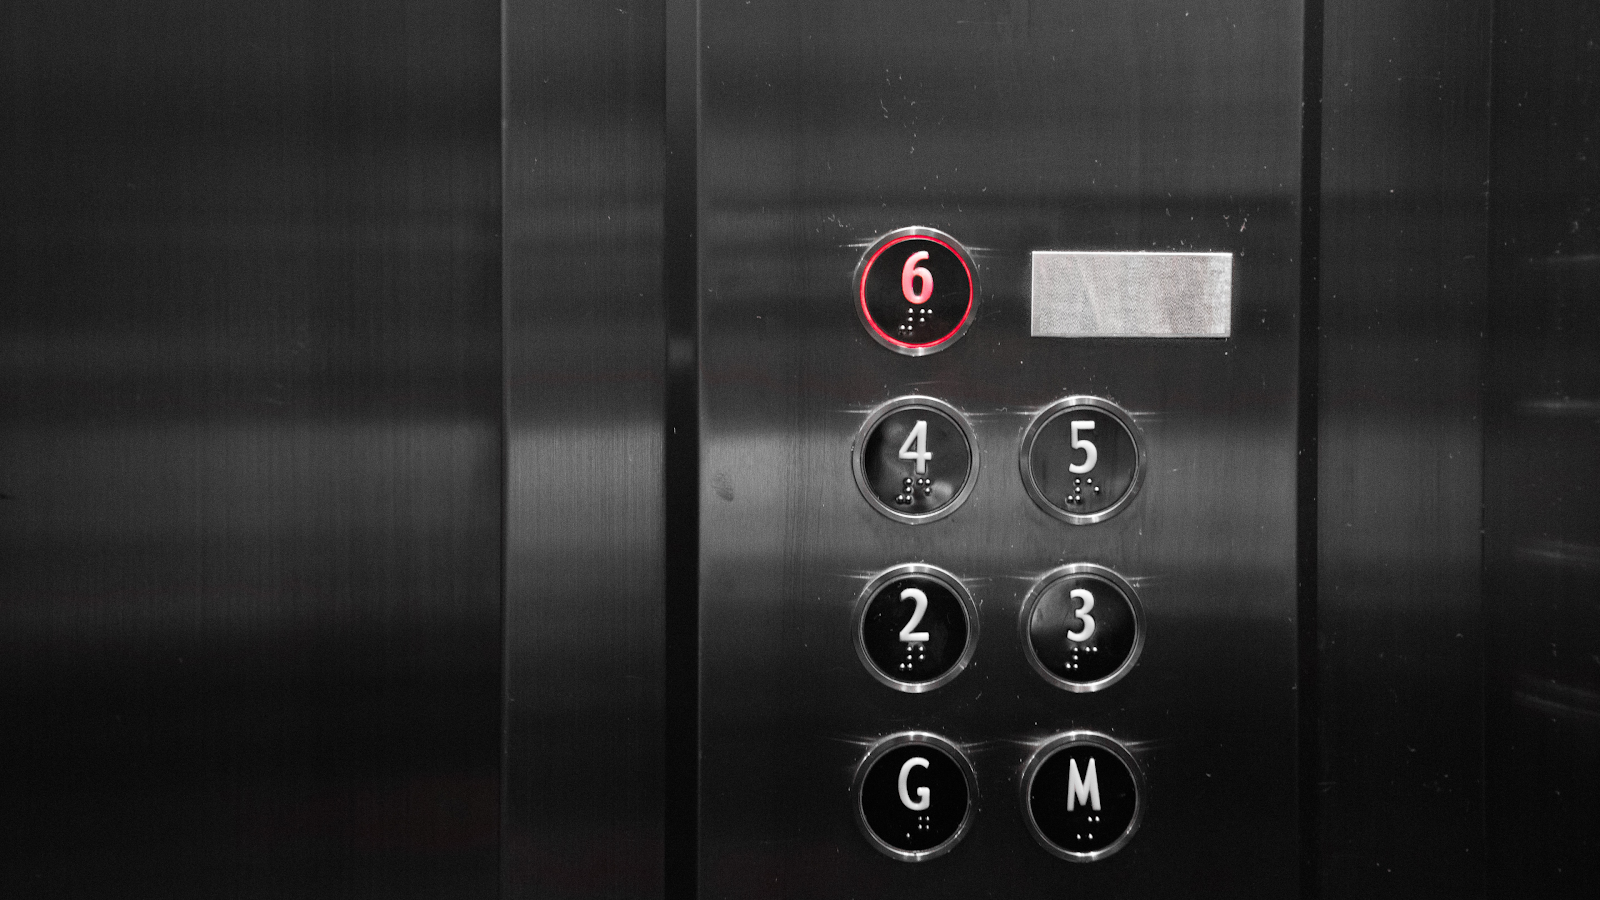
The cab interior — flooring, wall panels, ceiling, lighting, mirrors, and buttons — is fitted. This is the phase most visible to end users and the one most often affected by bespoke design choices. Standard finishes can be completed in a day; custom interiors may take longer.
Step 10: Final Checks and LOLER First Examination
The installation team conducts a full commissioning test: load capacity, speed, levelling accuracy, door operation, emergency stop, alarm, and communication systems. A LOLER first examination by an independent inspection body is then required before the lift can enter service. This cannot be waived.
The Importance of Lift Maintenance
Once a lift is installed and commissioned, regular servicing is a legal requirement, not an option. LOLER requires a thorough examination at least every six months for passenger lifts. A maintenance contract that includes regular service visits, oil and lubrication checks, safety device tests, and door mechanism inspection prevents the majority of unplanned breakdowns. The cost of a maintenance contract is consistently lower than the cost of reactive repairs.
Looking for Expert Lift Installation, Maintenance, or Modernisation?
Future Lift Services specialise in lift installation, maintenance, and modernisation for commercial and residential properties across the UK. With over 25 years of experience. Contact us for a free, no-obligation quote.
Lift Installation Process FAQs
Are there lift installation regulations in the UK?
Yes. Lift installations must comply with The Lifts Regulations 2016 (essential health and safety requirements for design, manufacture, and installation) and LOLER 1998 (mandatory regular examination after commissioning).
What are the main considerations when installing a commercial lift?
Structural readiness of the site, correct lift type for the building’s usage and traffic patterns, compliance with EN 81-20 and Part M accessibility requirements, permit and Building Control approval, and choosing an installer with relevant experience.